Scrap Yard Log Arch Build Job
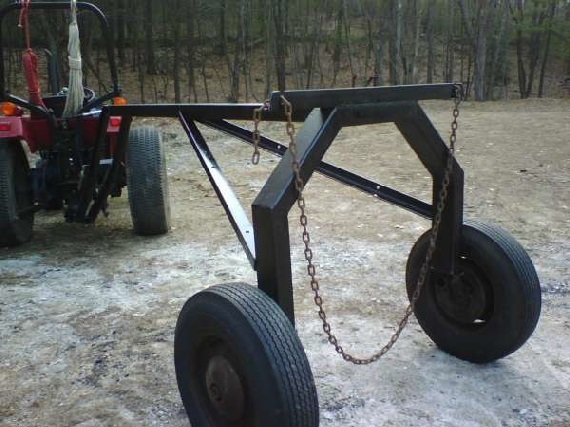
The scrap yard log arch is intended to be a guide for constructing a log arch from materials you may find around your shop and local scrap yards.
With standard metalworking tools you can fabricate and assemble a log arch similar to this design to use yourself.
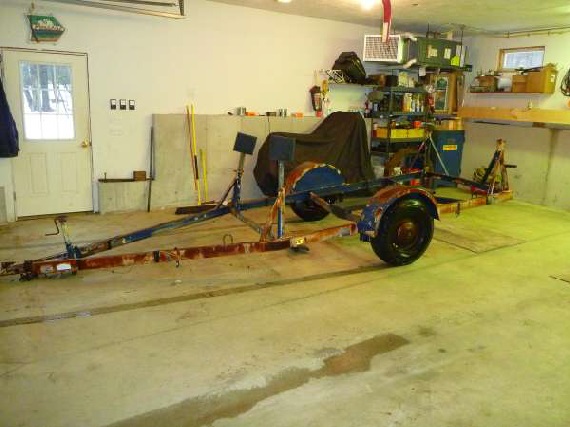
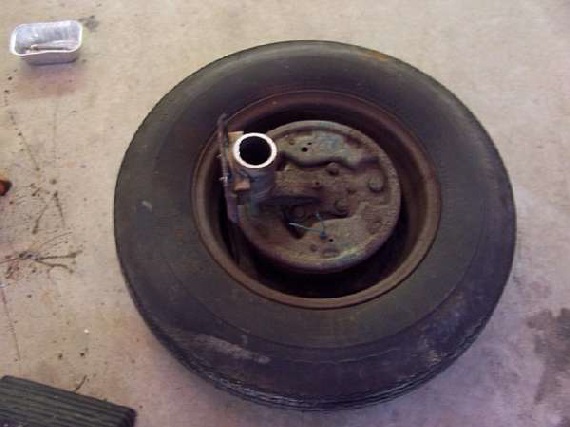
In this case the only real components that were needed were salvaged from an old defunct boat trailer.
These parts include the winch, axel, wheels and tires, as well as the trailer hitch tongue if applicable to your hitch system.
Metal working tools that can be handy if not necessary for this log arch fabrication project will include:
- Acetylene cutting torch
- Arc or mig welder
- Cut off saw
- Hand grinder
How The Scrap Yard Log Arch Was Built
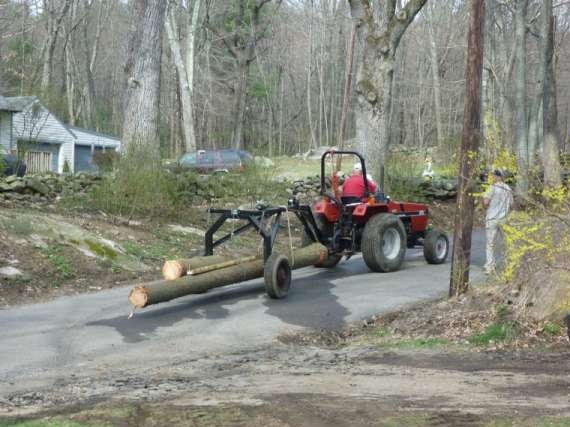
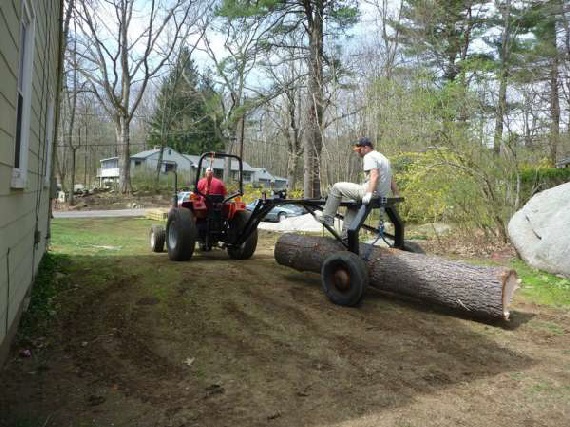
The fabricator needed a way to move logs to his mill about 400 yards from where the trees were being cut down. In this case a log arch was the perfect fit for the job....Here's my build. There are many threads on the internet that can help the handyman create his own homemade log arch.
This is a simplified project since in this case the old boat trailer provided most of the materials needed. It was built with all scrap metal and and boat trailer parts so minimal cost was incurred in the construction process.
Here we will share this log arch build because looking at pictures of other log arches can really helped in the design process.
You will need to decide how you will be attaching and moving your log arch.
Many options can be utilized including a hand dolly, vehicle, tractor, ATV, skid steer, or other machine.
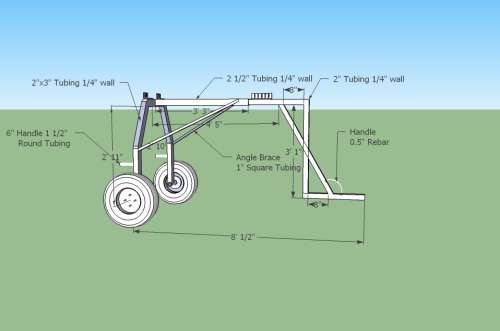
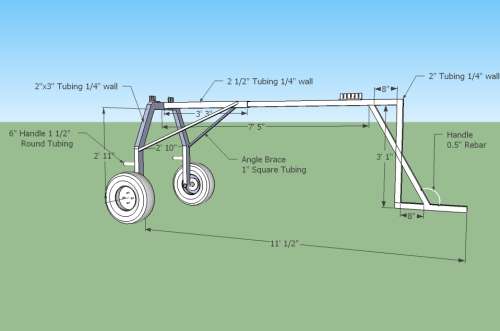
For this build, the intent was to be able to carry a 16' log suspended. For that reason the main top beam needed to be about 8' long, plus the tongue. In some reviews you will see that the top beam is designed to be extended for longer or shorter logs. See log arch design pictures here.
Expandable Log Arch Design Plans
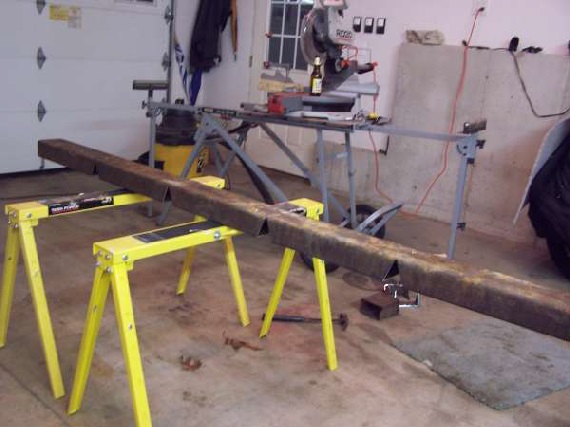
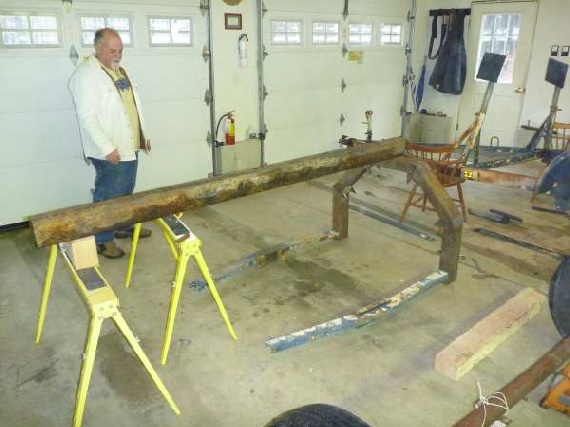
This project began with two scrap pieces of 8' 4X6 box steel found laying in the dirt for many many years. While they had a lot of surface rust, no major deterioration of the steel's strength was noted. Running a wire wheel over the surfaces quickly determined that they looked in good enough shape for the project.
Junkyard Log Arch Fabrication
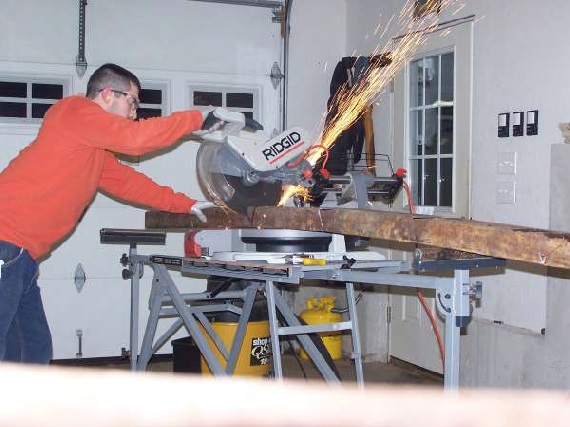
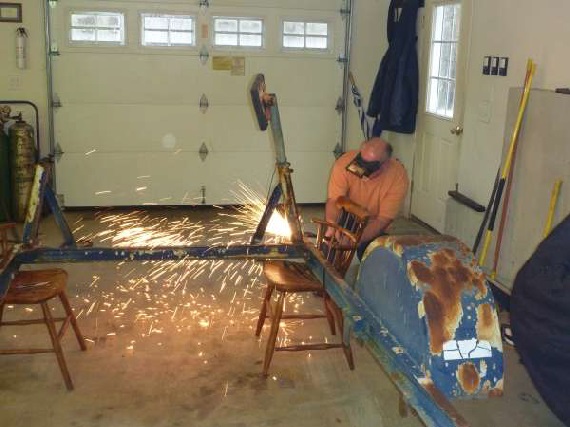
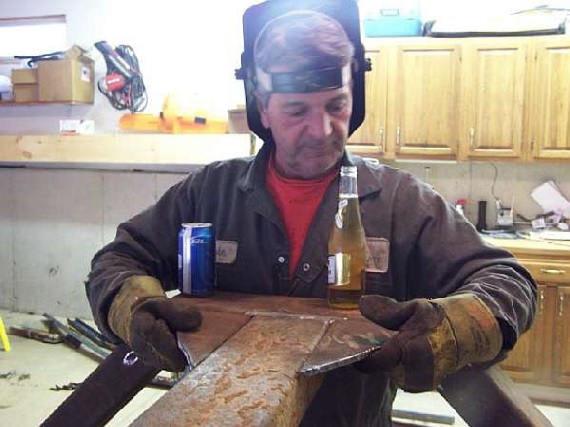
The desire now was to avoid having to cut the beams into sections only to have to weld them back together again. For this purpose, one beam was marked in the spots where 'bends' were wanted for the main arch. A cutoff saw with metal cutting blade will do the job. Since the combined angle of the transformation would be 45 degrees, each of the two bends for each side needed to be cut at a 22.5 degree angle to remove a 'wedge' shape.
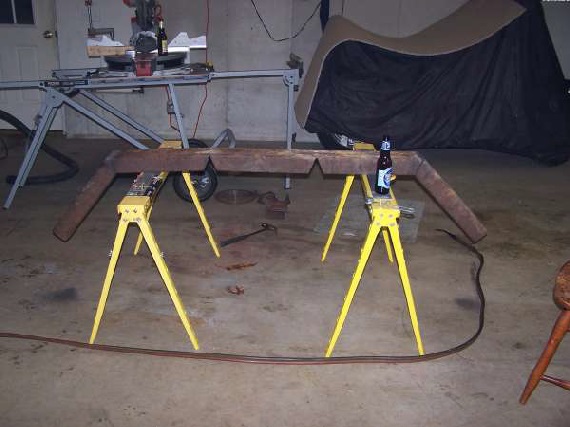
The beam was flipped over so the wedge openings (45degrees) were facing in the downward position. Then the notch areas were heated up with a torch until the steel started bending down under its own weight. Using a large triangle square, the steel can then be bent until it is exactly 45 degrees.
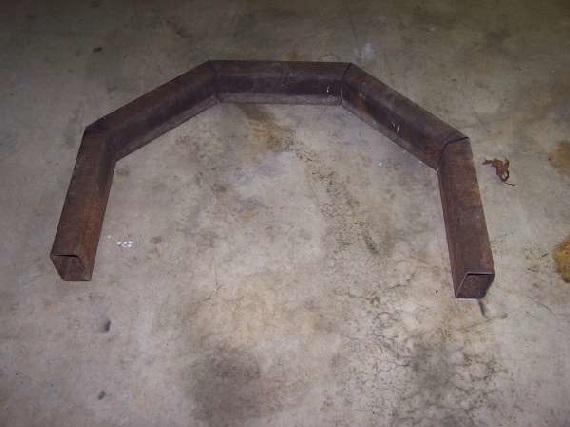
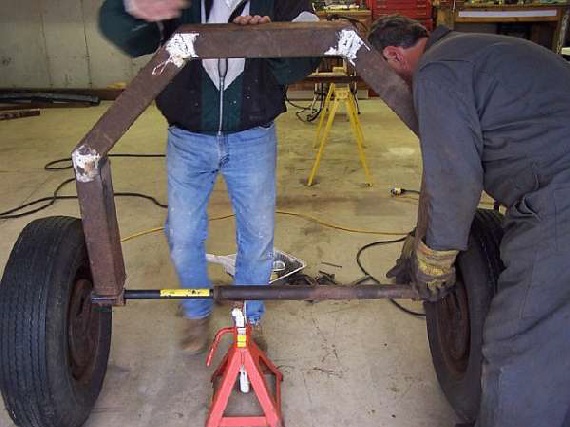
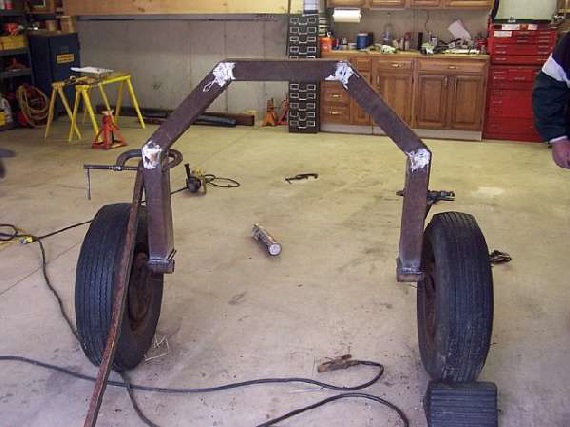
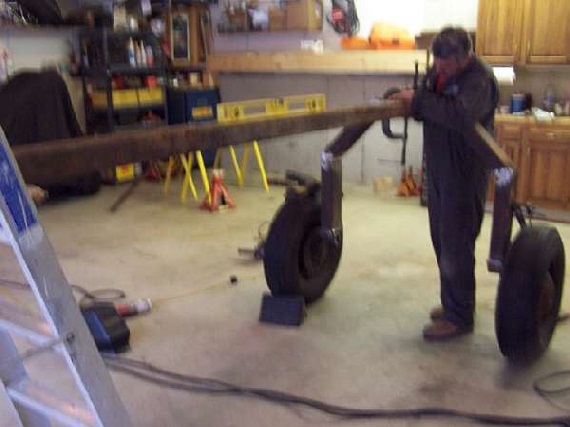
By repeating this for all 4 'wedge' areas that were cut-out, you can form the main log arch frame. This is a simple way to get a perfect shaped arch using basic geometry
Next is to find a cheap boat trailer for sale on craigslist, or in this case is was acquired for free...
This was a perfect fit for this project and it was time to cut that bad boy up for more bracing and components that were needed for the log arch.
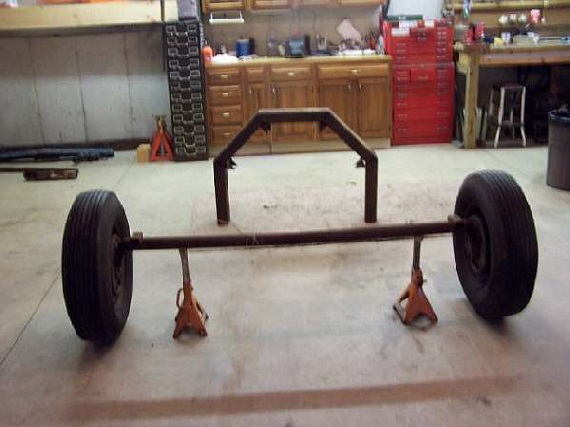
The axle would be too long so another step was to shorten it.
As seen in the pictures, other steel from the trailer along with the scrap from the "wedges" would be used to tack the arch into the right shape.
Here you can see the arch welded into shape.
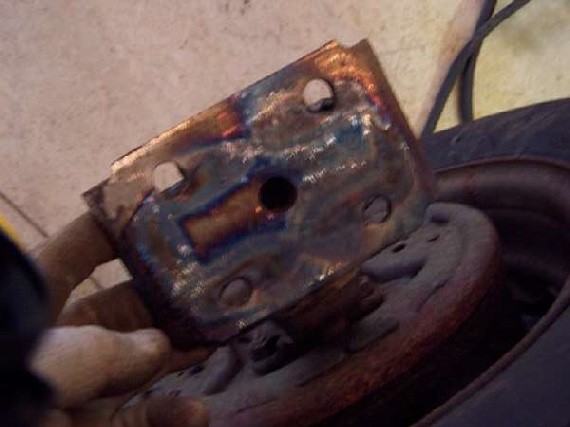
Next was to cut one of the wheel and hub assemblies off the axle and weld the leaf spring mounting plate onto the bottom of the arch. This plate is part of the brackets that mounted the wheel/hub assemblies and axle to the trailer.
Truing upwheel alignment is an important stage of the build. Take your time!
The plate used on the bottom of the arch beam (old axle bracket) worked great for attaching the hub, perfect size. This was followed up with fitting the main support beam into position.
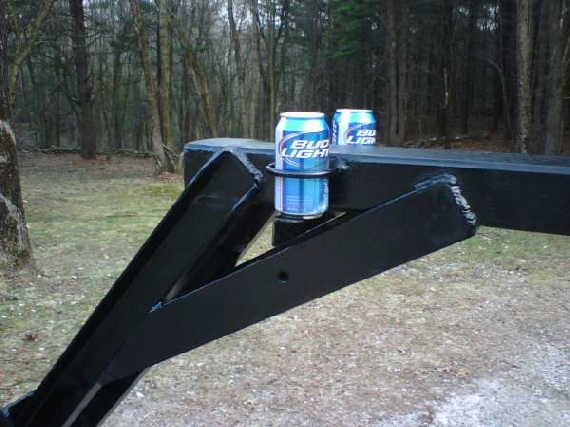
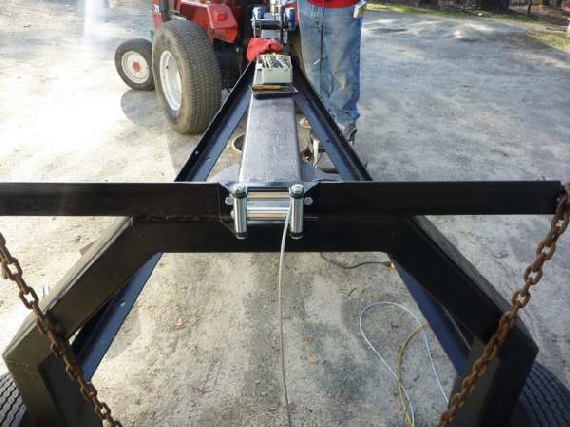
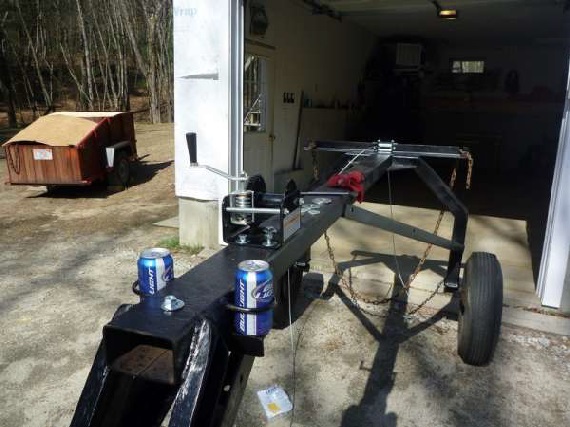
Extra structure strengthening was added using 45 degree wedges and cross bars that were welded on to beef up the main frame. Then the tongue, crank winch, cable guide, and most importantly the beer can holders are all welded into place. The cup holders are made from a solid piece of steel going across the bottom of the main beam, and 2 spare muffler clamps welded to each side of the main beam. Another mandatory feature!
Make sure you use a heavy duty winch that can support all the weight you intend to carry with your log arch.
That about does it for this log arch build, all in all it works great. This makes moving logs much easier, and helps keep them nice and clean for the mill. Keeping the logs clean from dirt will also extend the chain life on a chain saw if you're cutting firewood.
